Behaviors Erased When Uploaded From Sketch Flinto

Working with Behaviours in Flinto: Function 1
Flinto merely took it upwardly a level with the Behaviour Designer
As you may already know I practise accept a penchant for a sure Prototyping Tool…
…Ok. You got me. Information technology's Flinto. Damn, you're adept!
I've been an advocate of this corking Sketch companion tool for quite some time. It's relatively like shooting fish in a barrel to pick up, a joy to use, and can produce some really neat results when bringing your Sketch files to life. But, until recently, and compared to the likes of something like Principle, it was missing some features that could stand information technology alongside the same tool.
That has now changed.
The name's Designer. Behaviour Designer.
In this short 2 Part Tutorial I'll testify yous how invaluable this new feature is, and how it has raised Flinto's standing in the whole 'Prototyping Tools' eco-system.
Before nosotros first, make sure you take the post-obit applications installed, and assets downloaded…
- Sketch
- Flinto
- Tutorial Assets (includes Sketch file to import into Flinto)
- San Francisco Font*
*Y'all can find this in the Tutorial Assets/Fonts folder .
Applications, and assets at the ready?
Cool! Let's rock out some good Behaviour in Flinto.
Opening up Flinto
After opening up Flinto you'll be presented with the splash screen. You can become alee and close this, and then save the new document, and give it a name for the Sketch plugin to reference very soon. Something like 'Film App' would work.
We of course won't be needing the screen that'southward just been created, as nosotros're importing in our screens from Sketch. Then delete it either by pressing the (Delete) key, or correct-clicking on the screen, and choosing Delete.
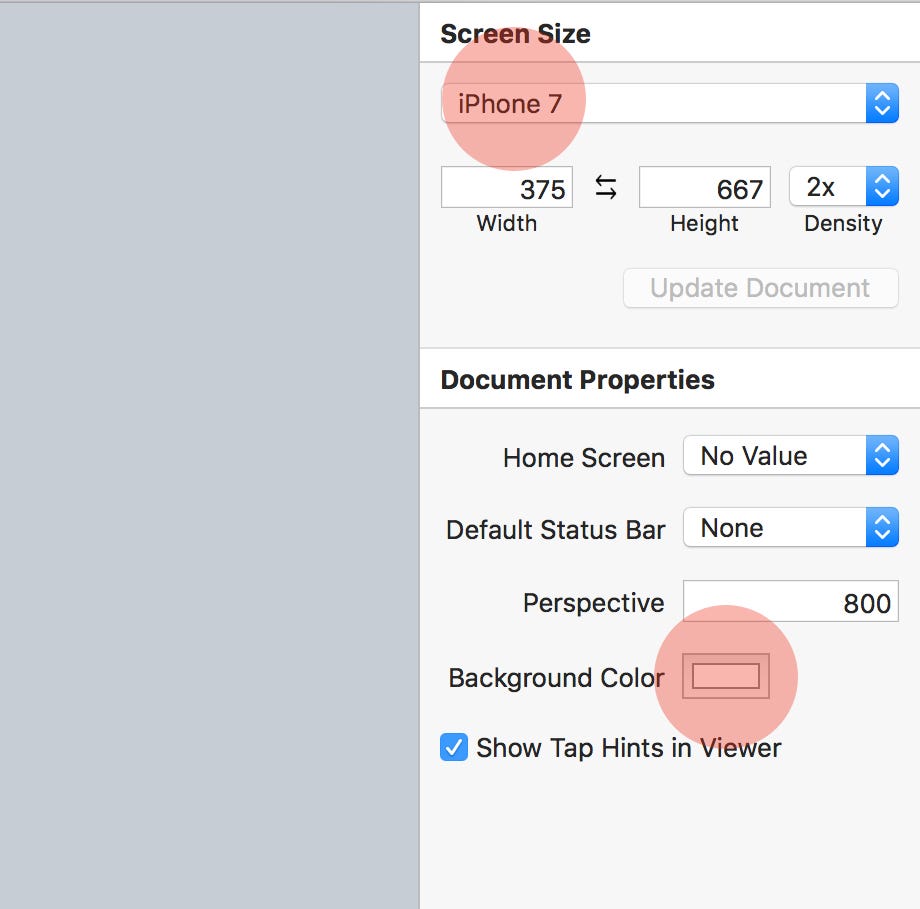
From the Inspector Panel, gear up the Screen Size to iPhone vii. Go out the Document Properties equally they are, autonomously from the Groundwork Color, change that to White #FFFFFF.
Now before we leap across to Sketch, we'll need the Sketch Plugin installed. So from the Menubar, select Flinto > Install Sketch Plugin…

Plugin installed? Practiced stuff. Let's get importing.
Importing from Sketch
Jump on over to Sketch, and make sure you take the Sketch file that you download previously, open up.
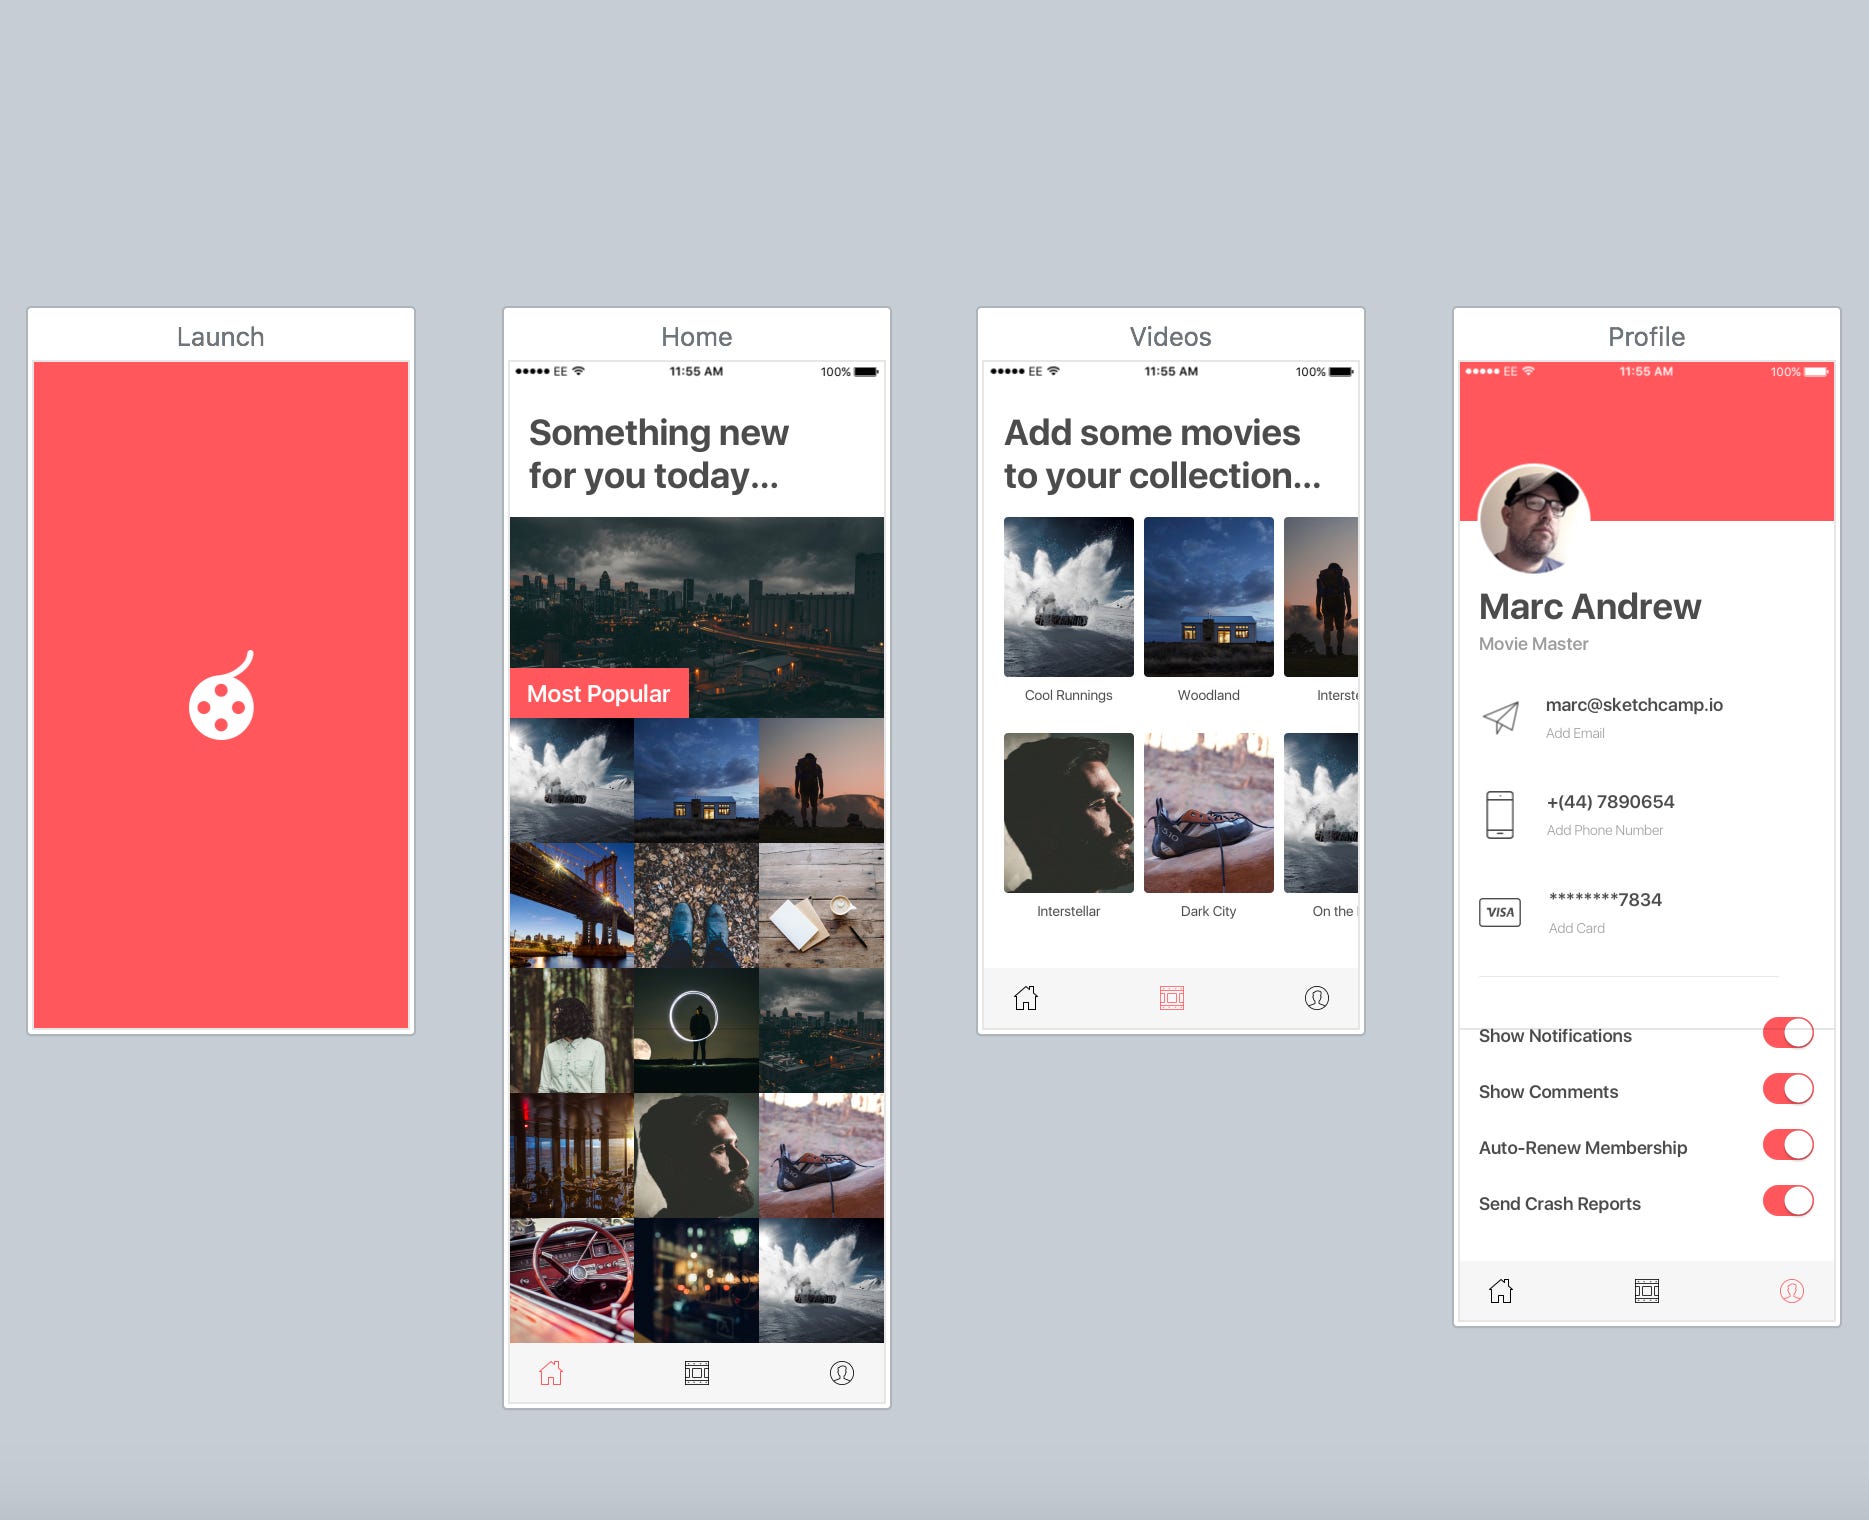
Now we just want to export the App Screens (not the Symbols), so (Shift-Click) to select the four App Screens (Launch, Home, Videos and Contour).
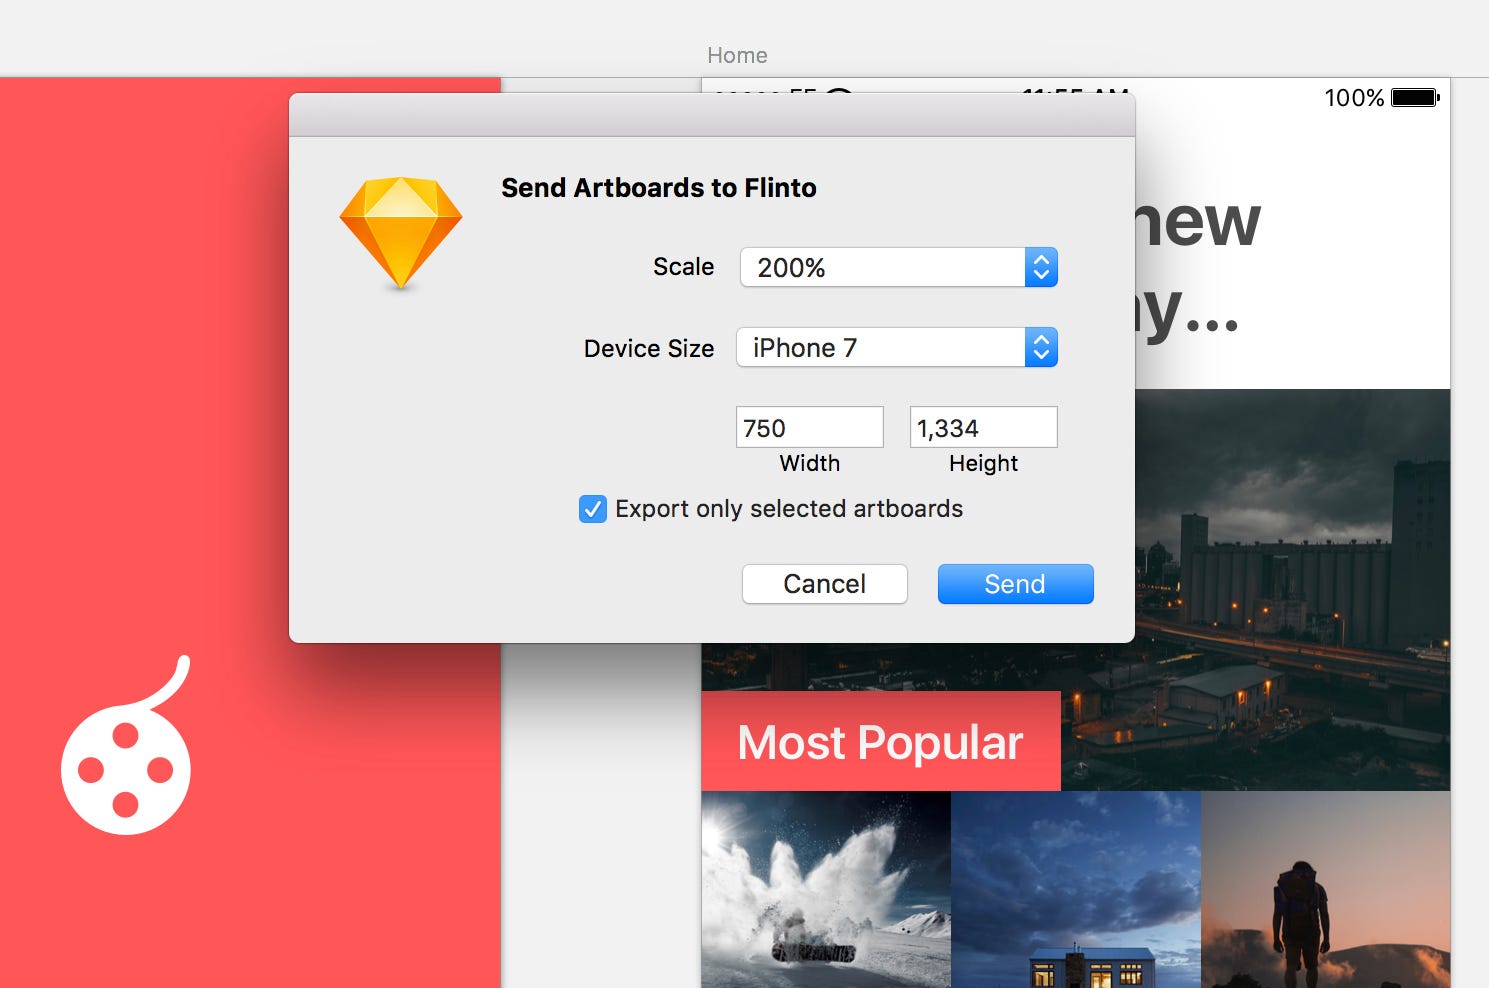
Cull Plugins > Send to Flinto from the Menu Bar, or use the Keyboard Shortcut (Shift + Ctrl + Cmd + F).
From the popup window, leave the Calibration at 200%, the Device Size at iPhone vii, and make certain Export only selected artboards is checked, then click Send.
And then in the next window, check that the Flinto file you saved earlier is selected, and click Merge.

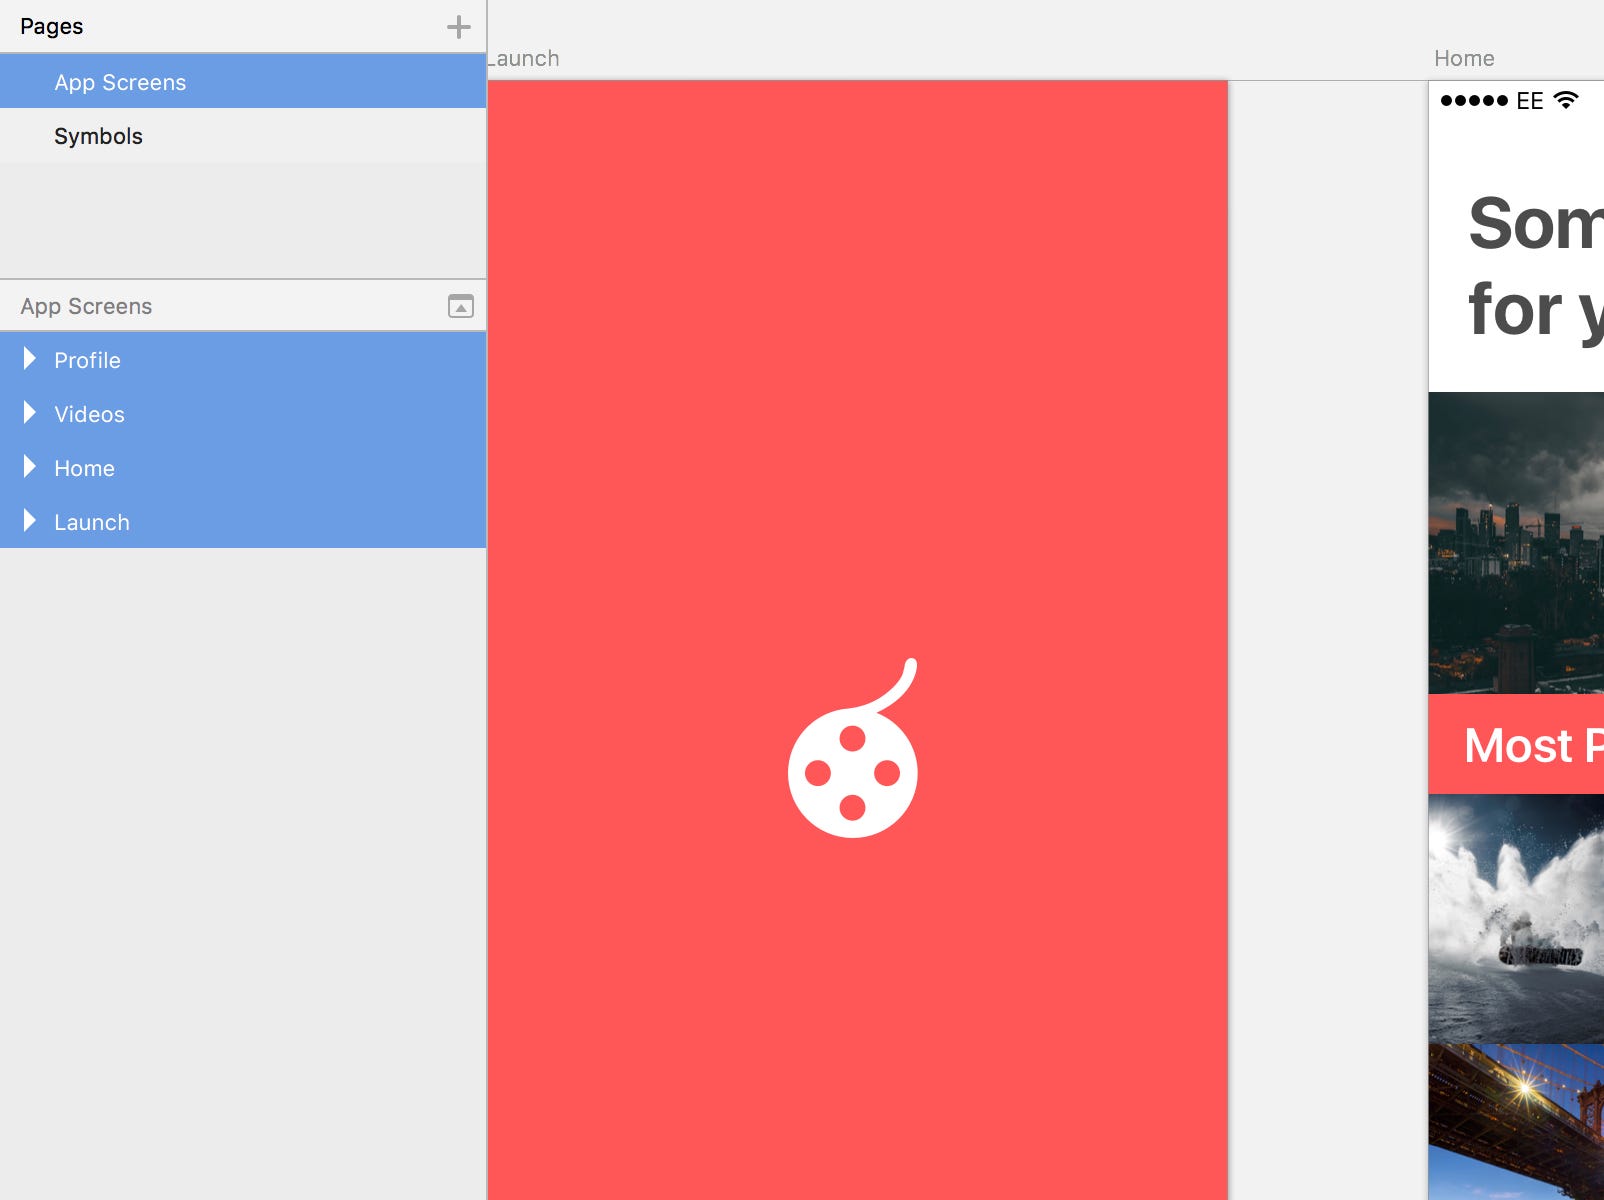
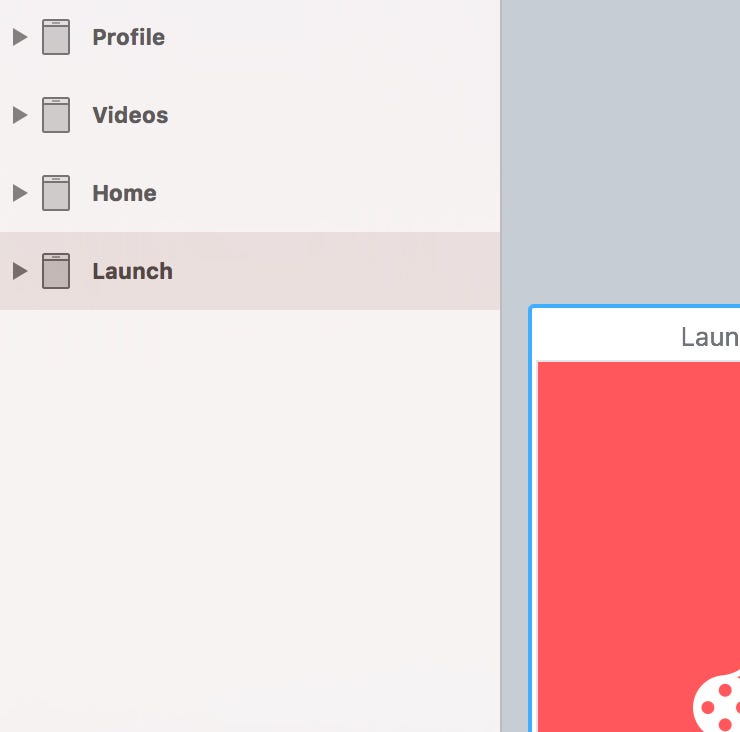
Dorsum in Flinto, you will see all your screens have been imported into the application, and from the Layers Panel you will encounter that the Layer/Group hierarchy has been preserved from your Sketch file.
Choose the menu detail Centre Canvas, and use the shortcuts (Cmd +), and (Cmd -) so all of your screens are visible, and centered on the Canvas.
Quick Tip: If (in the Layers Panel) your screen names are not in the aforementioned sequence as they were in Sketch, you tin can easily click, and elevate to re-society them correctly.
Launch
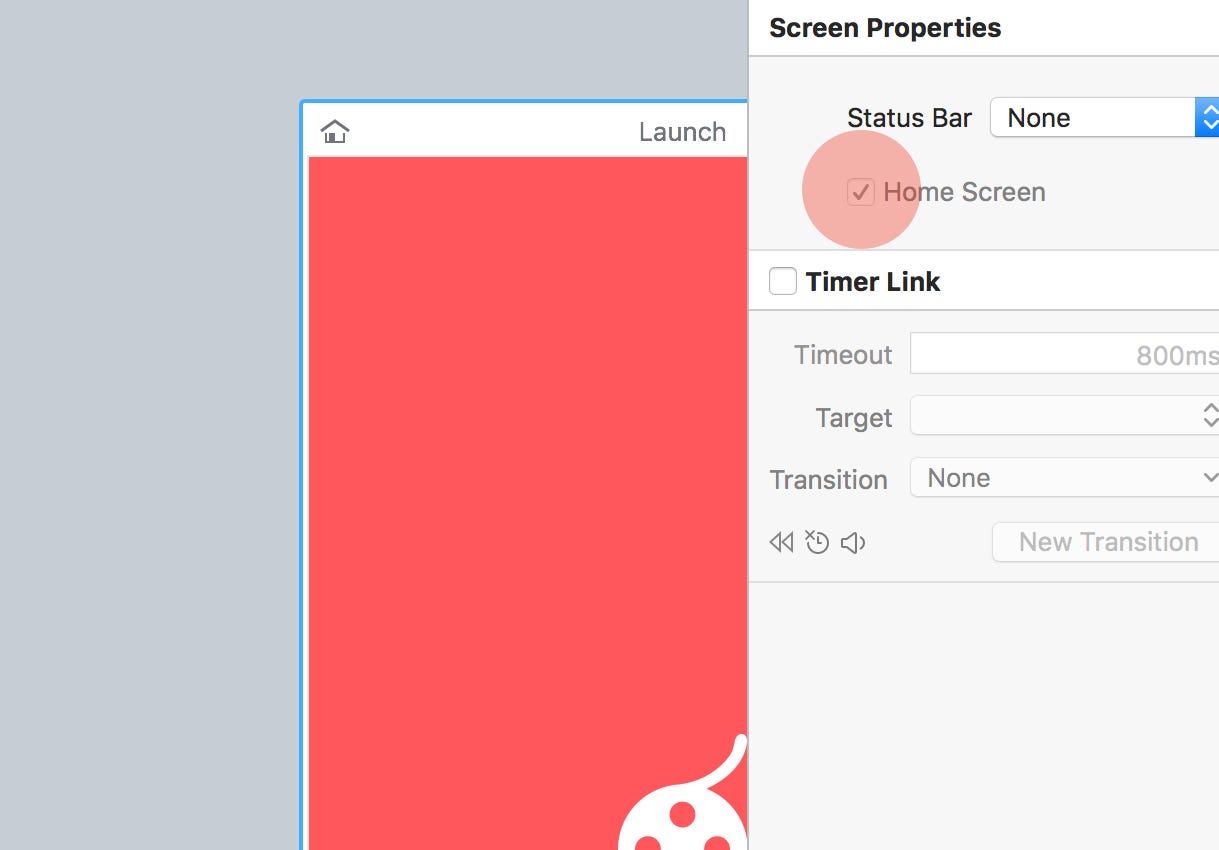
With the Launch screen being the first screen of our app, we need to let Flinto know that. So with the screen selected, cheque the Home Screen pick from the Screen Backdrop in the Inspector.
Quick Tip(s): Now would be a proficient fourth dimension to fire upwardly the Preview window. Now, there'southward not much to see merely yet, but with the preview window you can view changes as they happen. Click on the Preview icon in the Toolbar, or use the elementary shortcut (Cmd + P).
Also, if you oasis't already, you can grab the Flinto App from the iOS App Store. I like to apply the Preview (Cmd + P) part for my initial run-through, and then switch to the iOS App after that. It'southward entirely up to y'all. Whatever suits your workflow.
Ok. Dorsum to it.
Now we're going to add a timed transition from the Launch screen, to the Home screen. So check Timer Link in the Inspector, and enter the following settings…
- Timeout: 2000ms
- Target: Home
And then click New Transition, to enter the Transition Designer.

Quick Tip: Two simple Keyboard Shortcuts before nosotros swoop farther into the Transition Designer…
- Preview Transition: Infinite
- Preview Transition in Boring Motion: Shift + Space
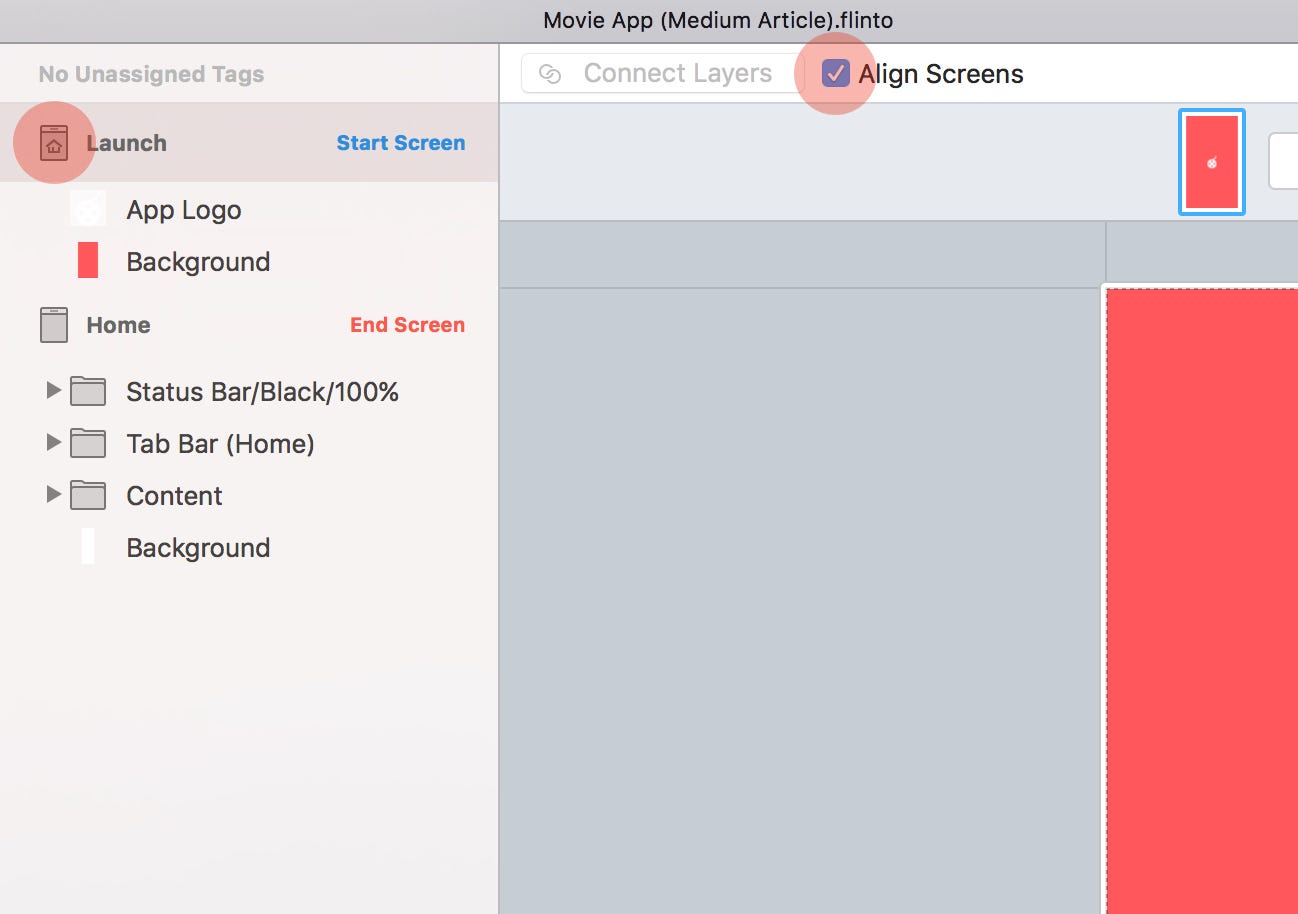
Every bit the Launch screen will exist fading to the Home screen, we want to marshal the screens on top of 1 another in a certain gild, and we can practise this by merely checking Align Screens in the Toolbar, and then from the Layers Panel selecting the Launch icon, and dragging information technology to the meridian of the list.
Pressing (Infinite) volition reveal… well not much really. And so nosotros demand to animate some elements on the Launch screen. Let's become alee and practice that.
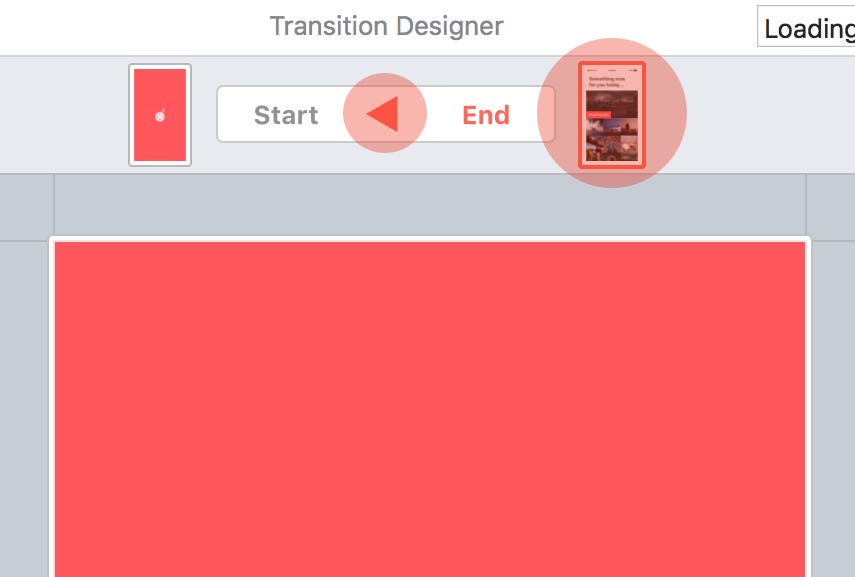
Firstly, press (Space) to become to the Stop of the Transition.
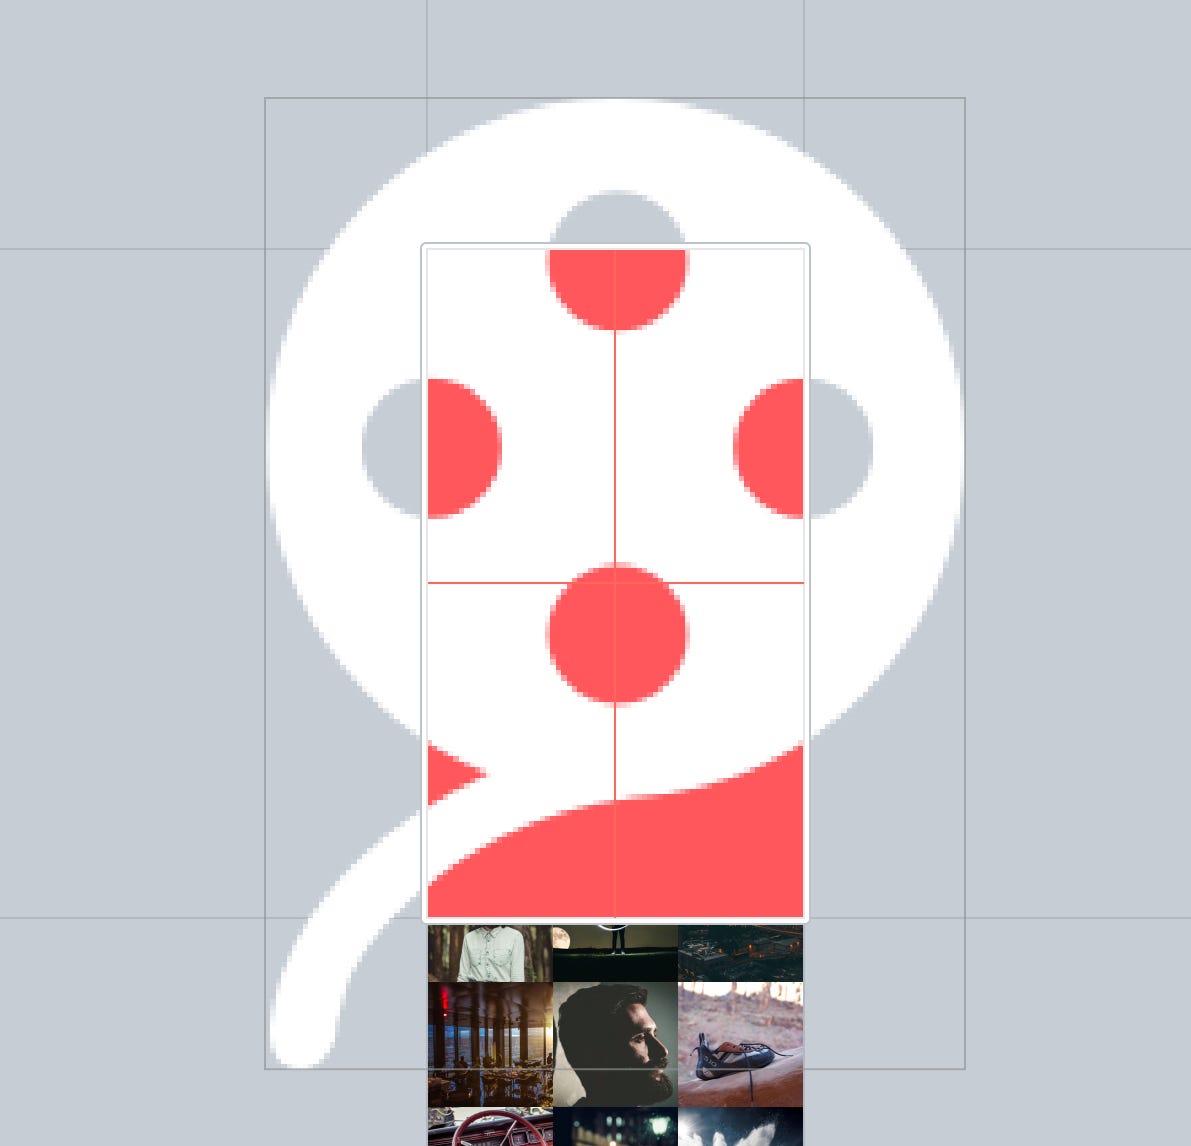
Then select the App Logo in the Layers Console, Rotate it 180 on the Z axis, and with the Padlock icon closed, increase its Width to 700.
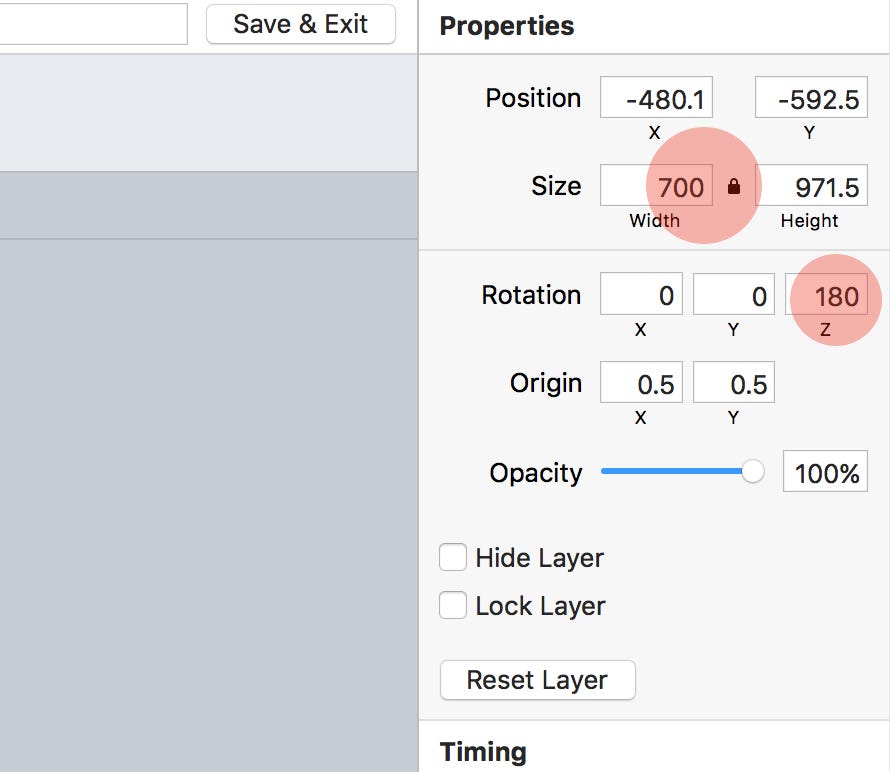
With the icon still selected, and using the alignment guides, center it up on the Launch screen, and then driblet the Opacity down to 0%.
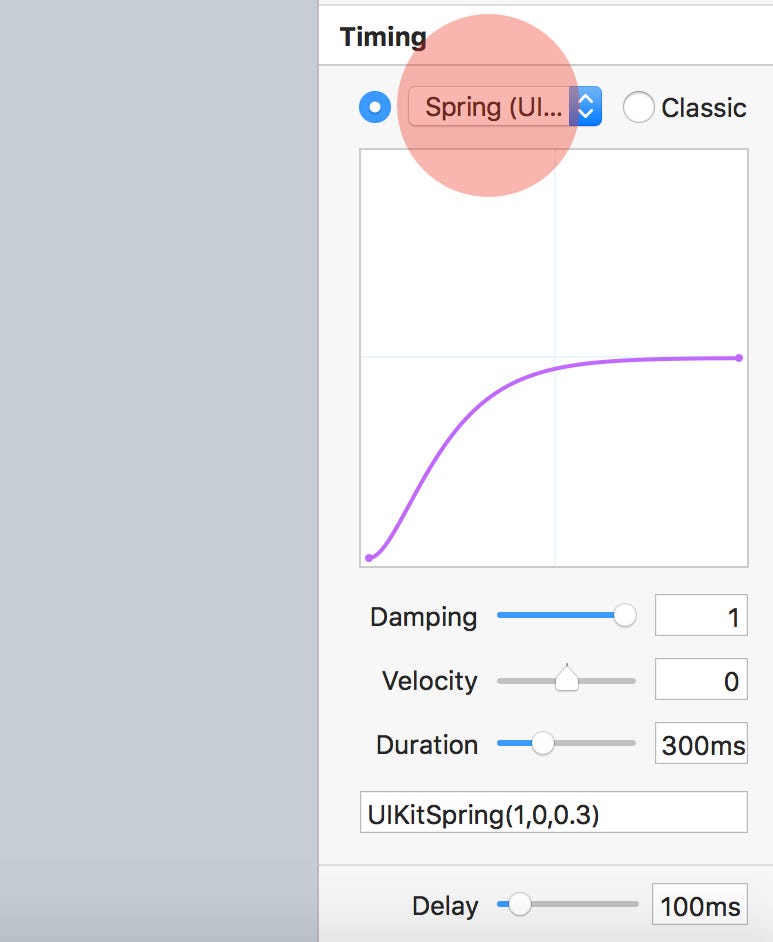
From the Timing console, choose Jump (UIKit), and so enter the following settings…
- Duration: 300ms
- Delay: 100ms
Still at the cease of the Transition, choose the Background layer, and reduce the Opacity to 0%.
We'll also add a longer delay to our Groundwork layer, and then the transition is slightly staggered between itself, and the icon.
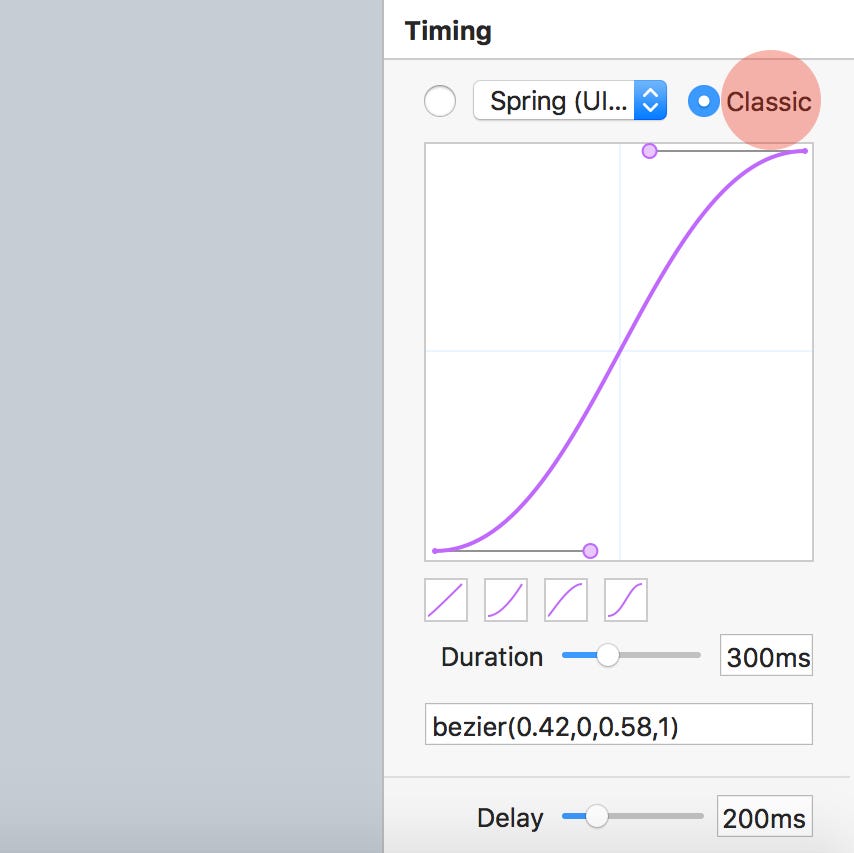
From the Timing panel, choose Classic, and enter the post-obit settings…
- Elapsing: 300ms
- Delay: 200ms
Quick Note: I'll be touching on Timing only briefly in this tutorial, but if you exercise want to read a more thorough overview of both Spring, and Classic timing then the Flinto documentation here is worth a read.
Finally, from the Toolbar, enter a name for our new Transition. Something simple like 'Loading' would work well. Then click Save & Leave.
Abode
Ok, firstly we demand to identify the Tab Bar inside of the viewport, so select the Tab Bar group, and so on the Sheet drag it up until it snaps inside of the guides. If you're unsure if the chemical element is saturday in the correct position, merely check the Y position in the Backdrop panel (it should be sat at 607).
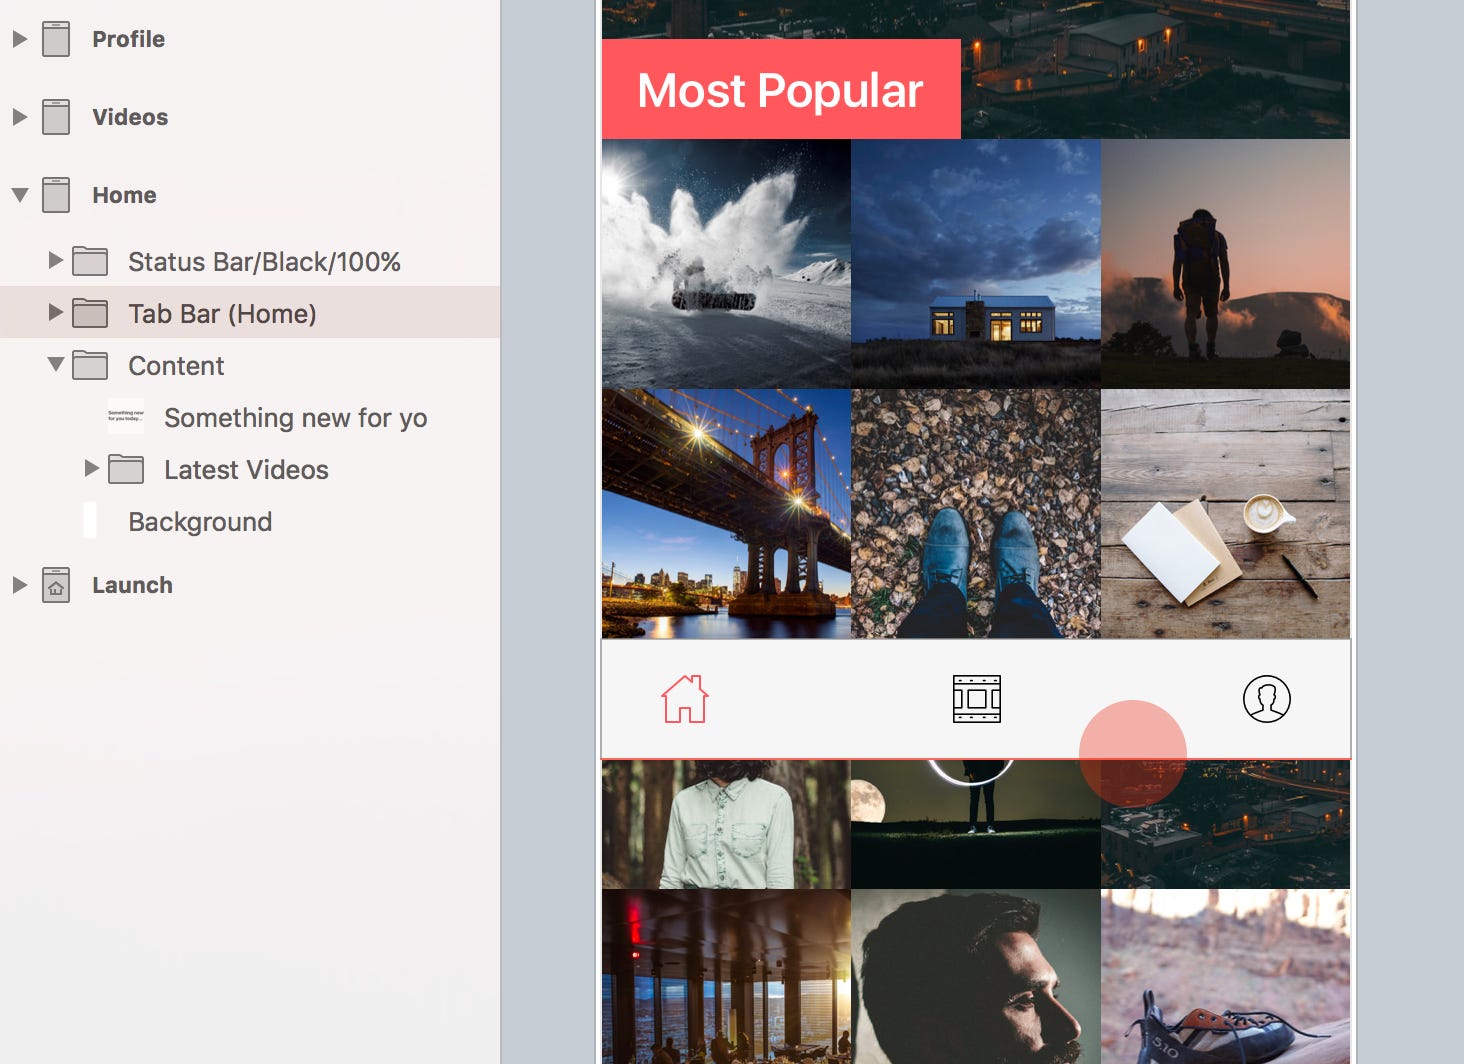
Now select the the Latest Videos group, then click Ringlet Group in the Toolbar, or use the shortcut (Option + Cmd + G).
We'll be wanting our elements to scroll up, and under the Status Bar, so grab the sizing handles at the top of the grouping, and pull them up until they snap to the bottom of the Status Bar.
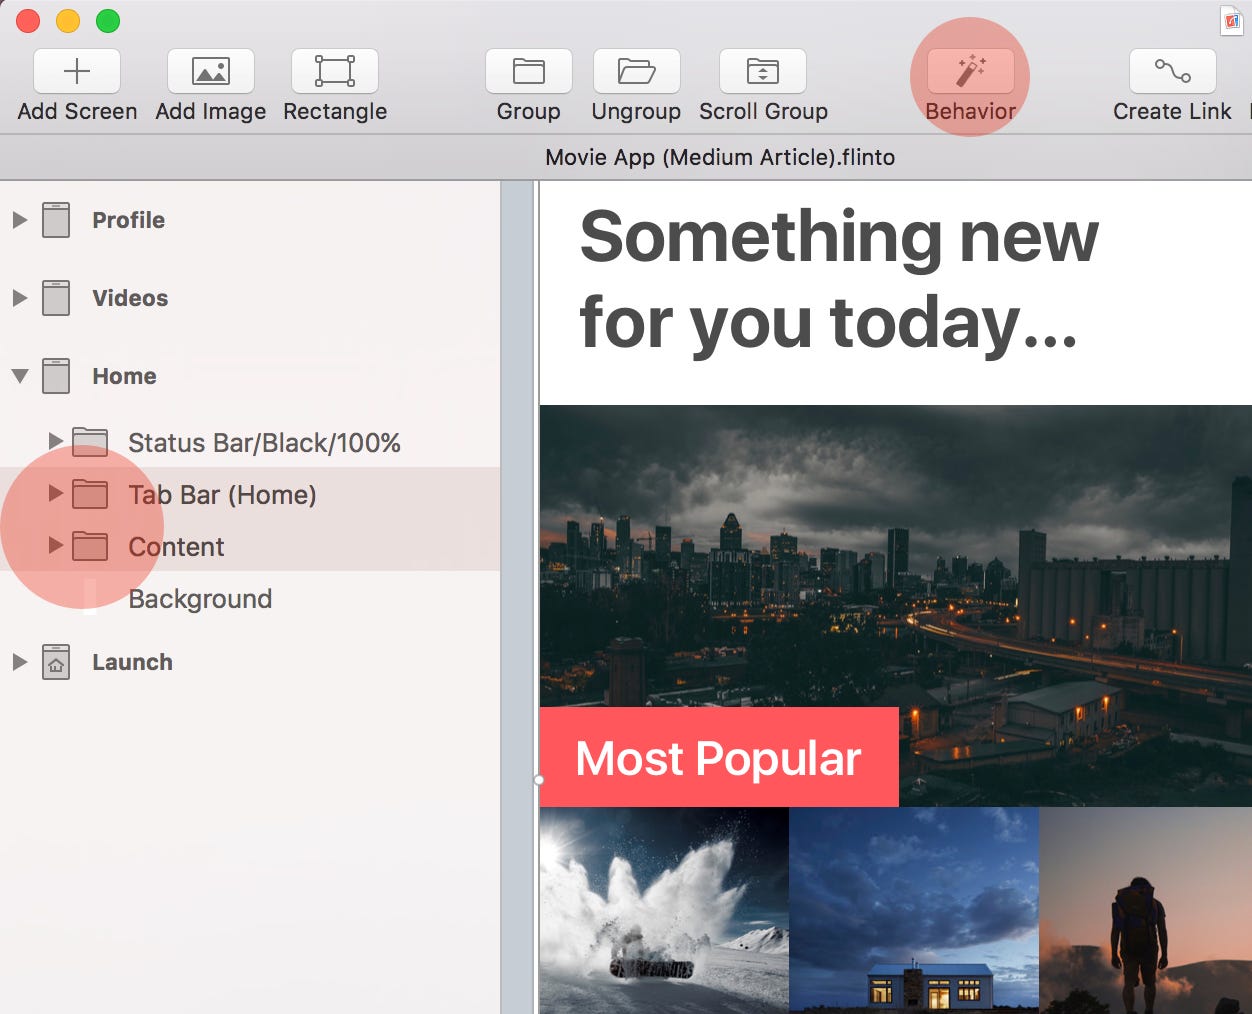
Fourth dimension to put the new Behaviour Designer feature of Flinto to proficient use with this screen I call up.
Select both the Tab Bar group, and the Content group in the Layers Panel, and so click Behaviour in the Toolbar, or just use (Cmd + B).
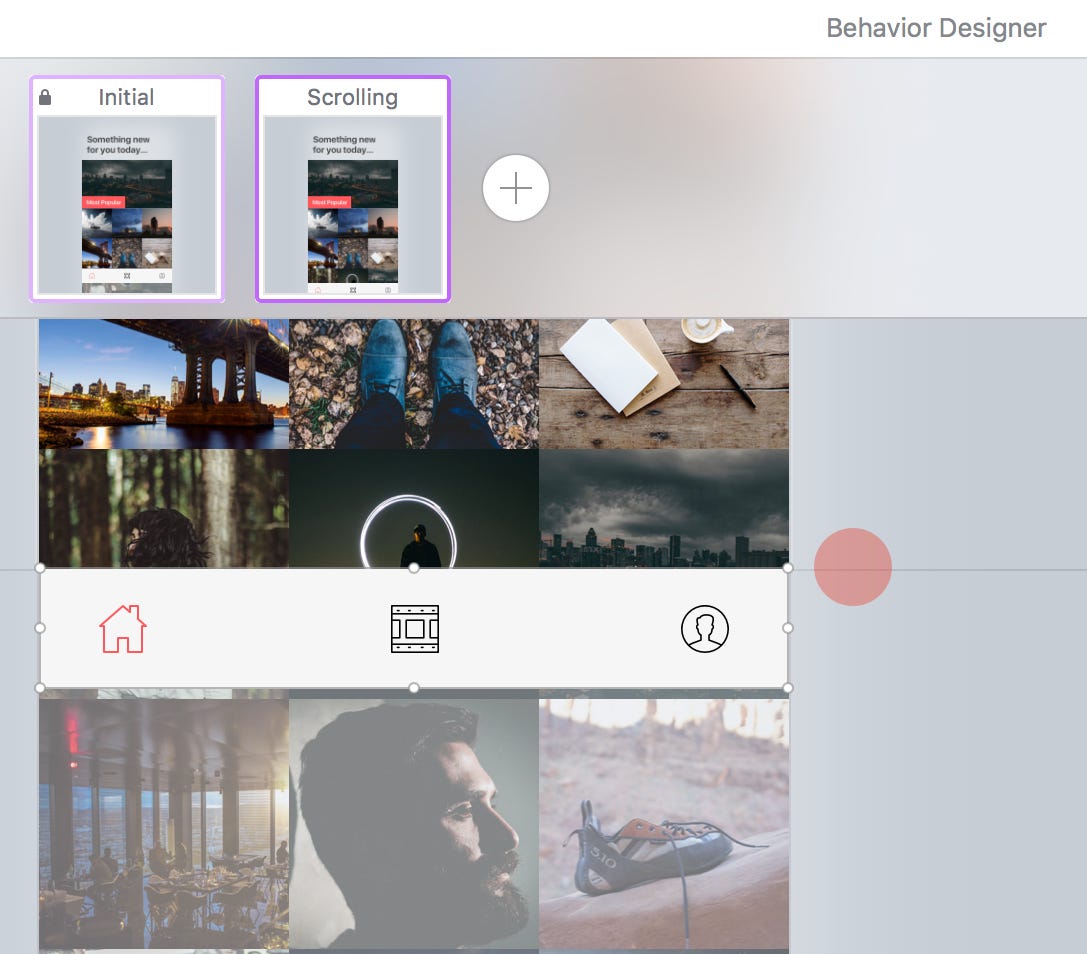
In the Behaviour Designer, you lot will meet the groups that we but selected in the panel on the left, and along the top you will see the Initial state for our screen. If yous click on any of the elements on the screen you will encounter that they're not currently editable, which is correct, and why nosotros need to go ahead and add a new State to our screen to bring in some movement.
Click the plus (+) icon next to the Initial State, and rename it.
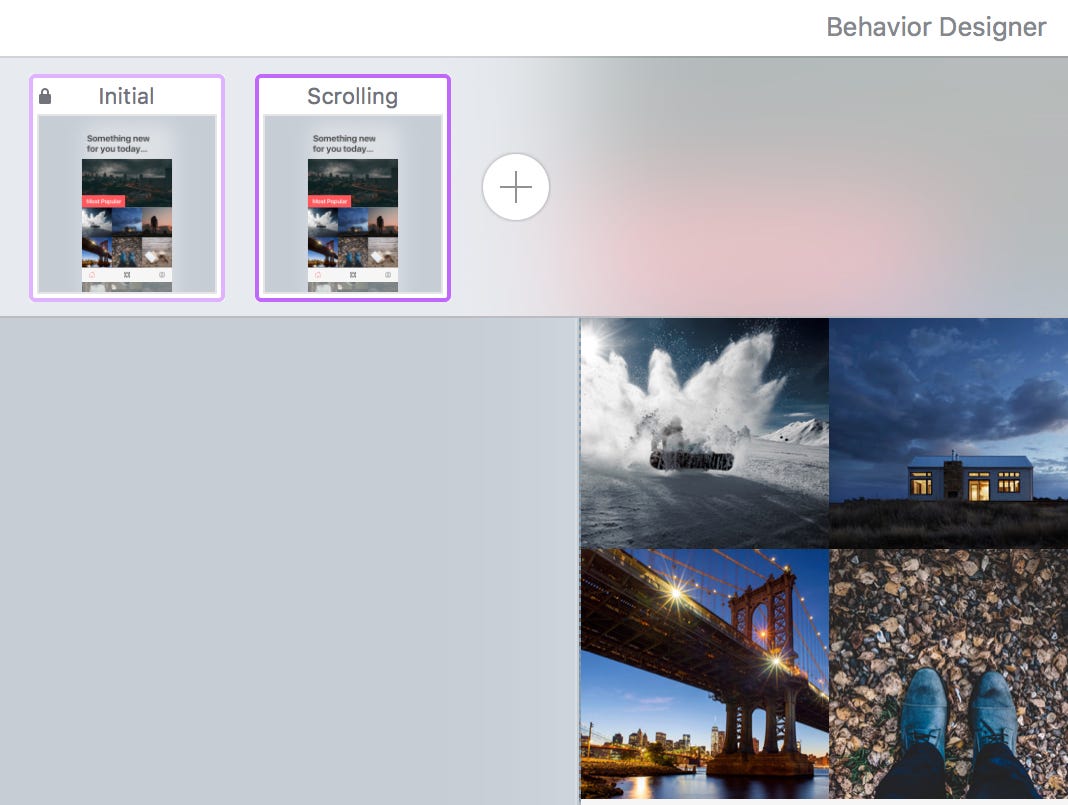
With the new State selected, catch the Tab Bar and pull information technology down, and out of the screen area.
From the Timing console, enter the following settings…
- Spring (UIKit)
- Damping: 1
- Velocity: 0
- Elapsing: 700ms
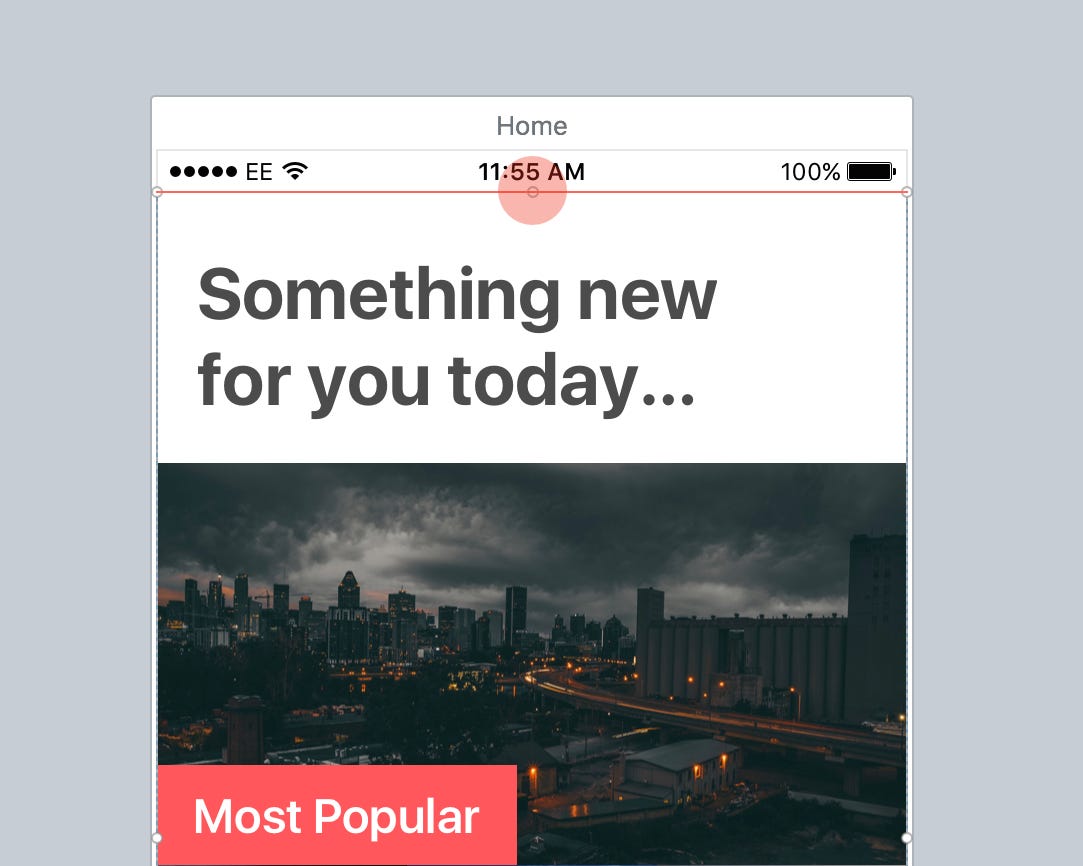
Even so on the new State, select the Text Layer from the Content group, and pull it up, and out of the Viewport. Take hold of the sizing handles (holding Shift to constrain proportions), and reduce it'southward Width down to around 180, and reduce the Opacity down to 10%.
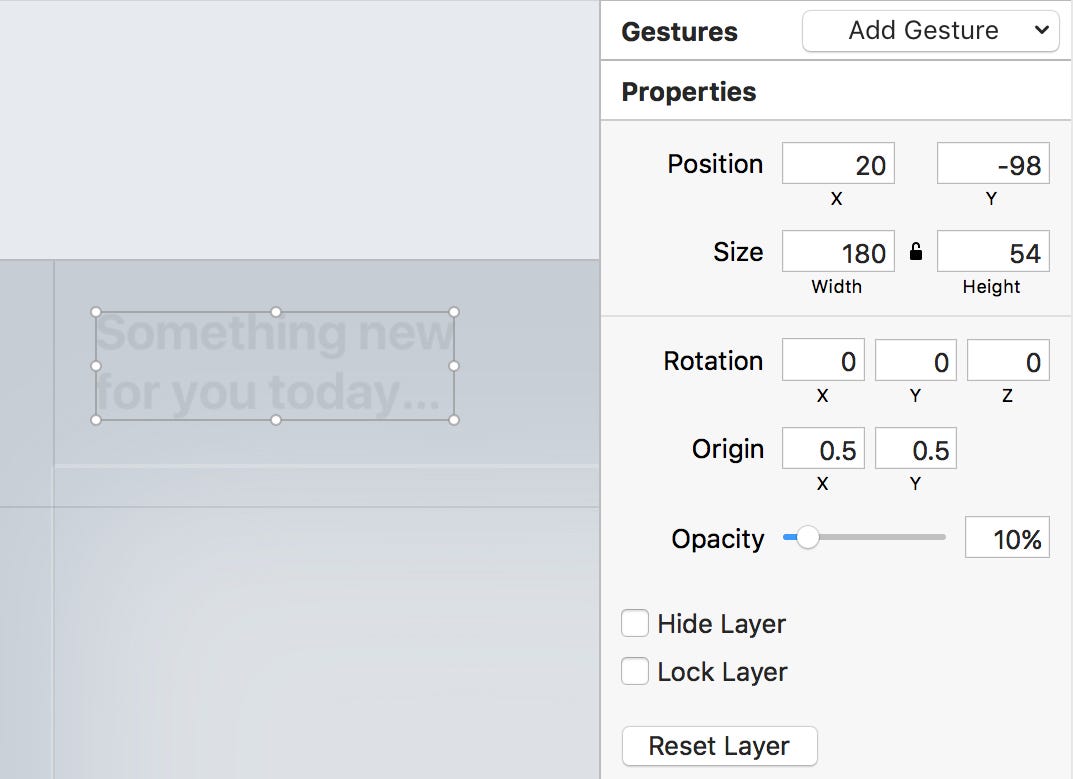
Enter the aforementioned Timing settings every bit the Tab Bar.
Finally, select the Banner layer…
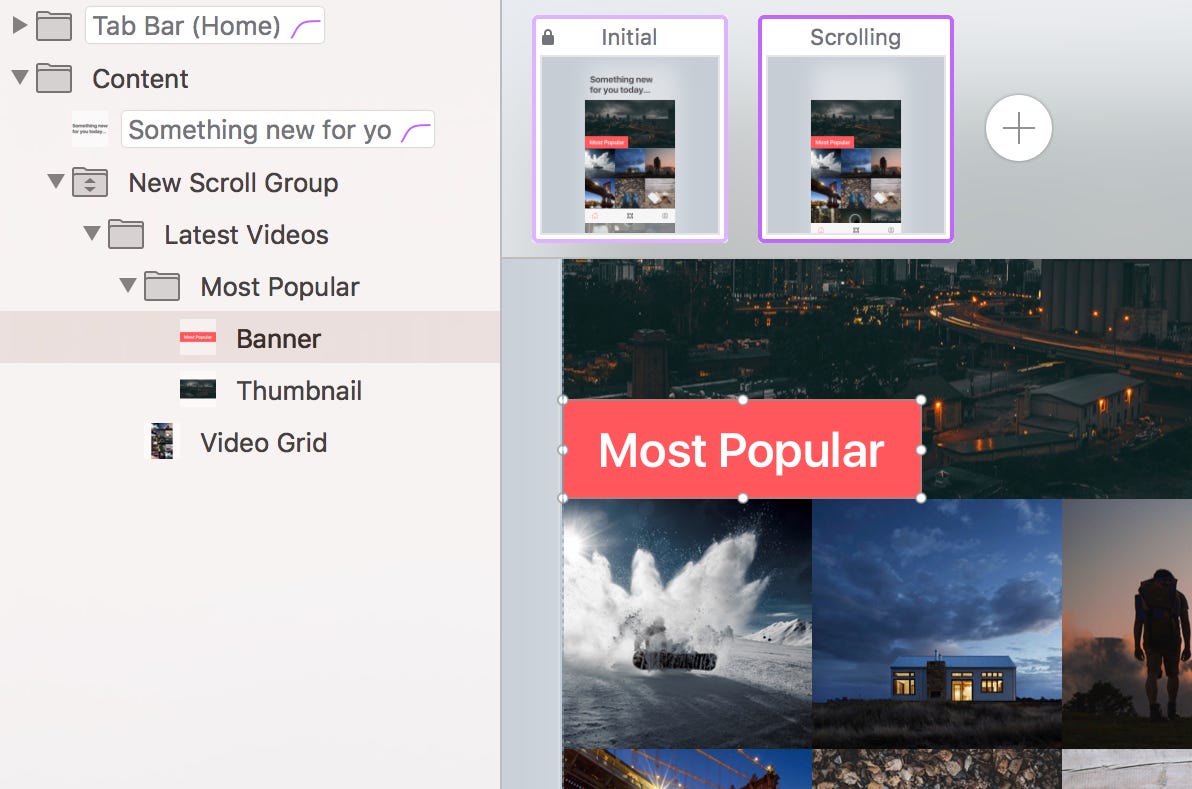
…and from the Inspector Panel, adjust its Rotation to 100 on the Y Axis, and its Opacity downwardly to 0%.
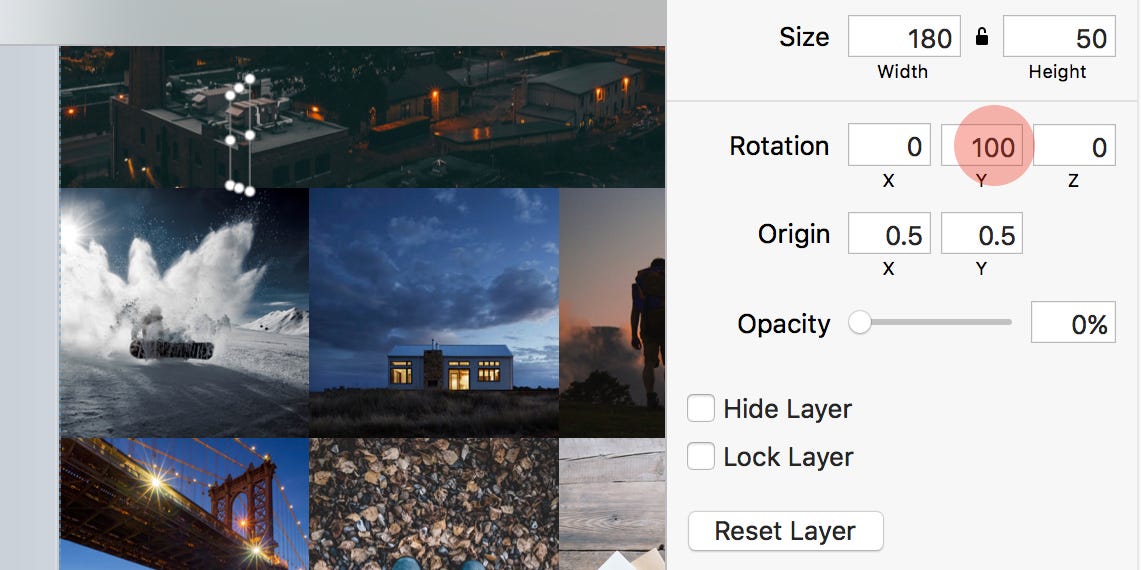
Again, and just to go on things unproblematic for this tutorial, stick with the same Timing settings as the other elements.
Now hitting (Infinite) you will be able to see your animations in full flow. Looking good!
Just before you go hitting that trusty Relieve & Exit push button at the top, we have to remember that currently there's no way of initiating those animations within of our paradigm. Nosotros need to make those elements animate based on the scroll position.
Let's ready that up.
With the Initial State selected, select the Scroll Group in the Layers Console, and use the shortcut (F) to create a link.
Drag the Link Line from the scroll group to the new State we created…
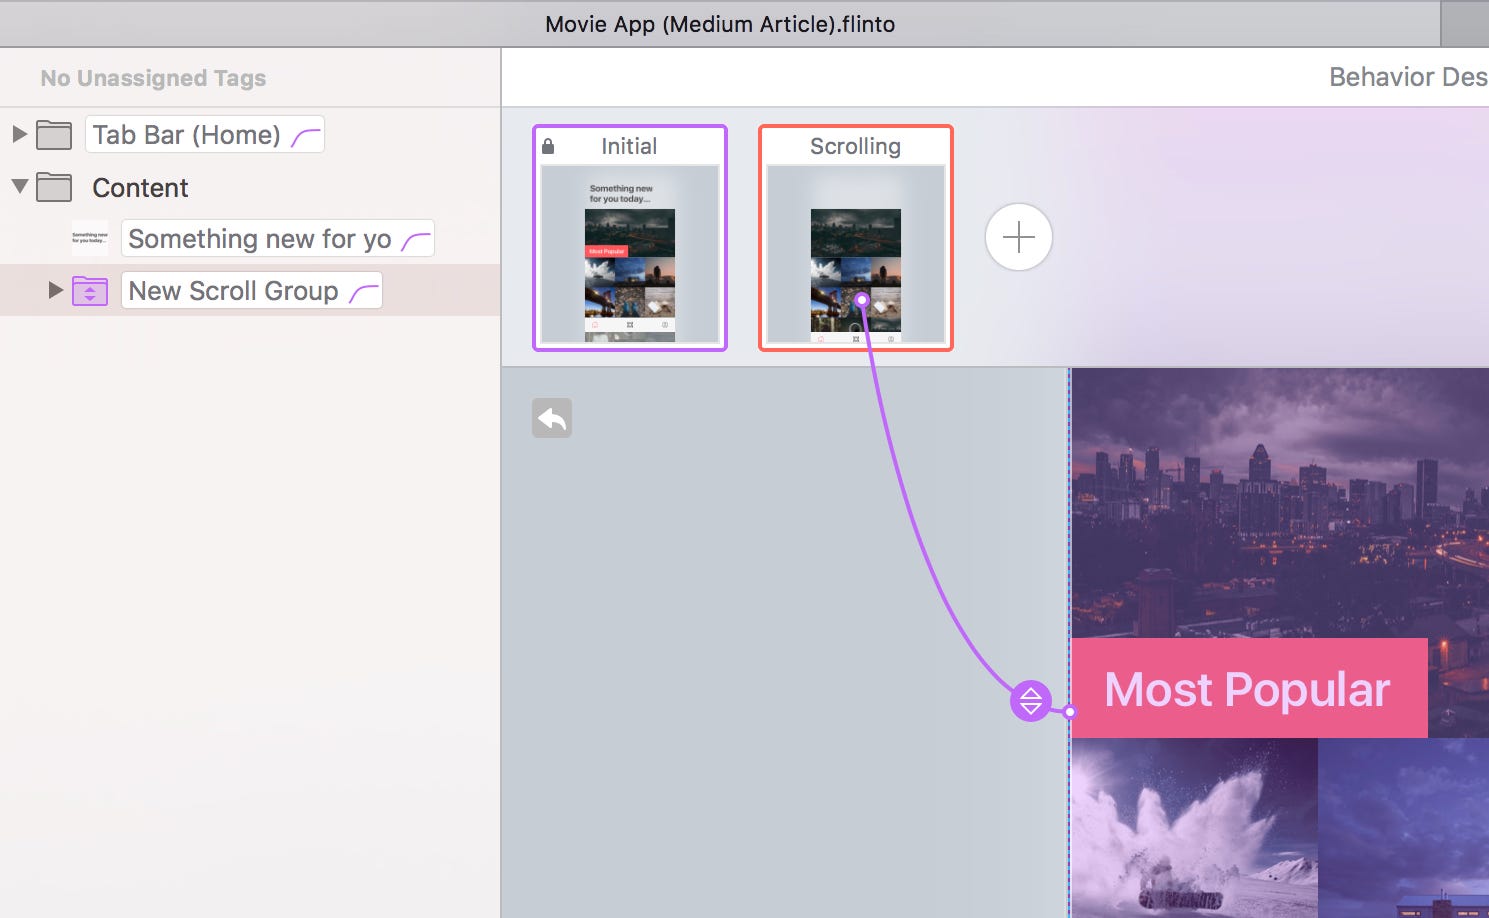
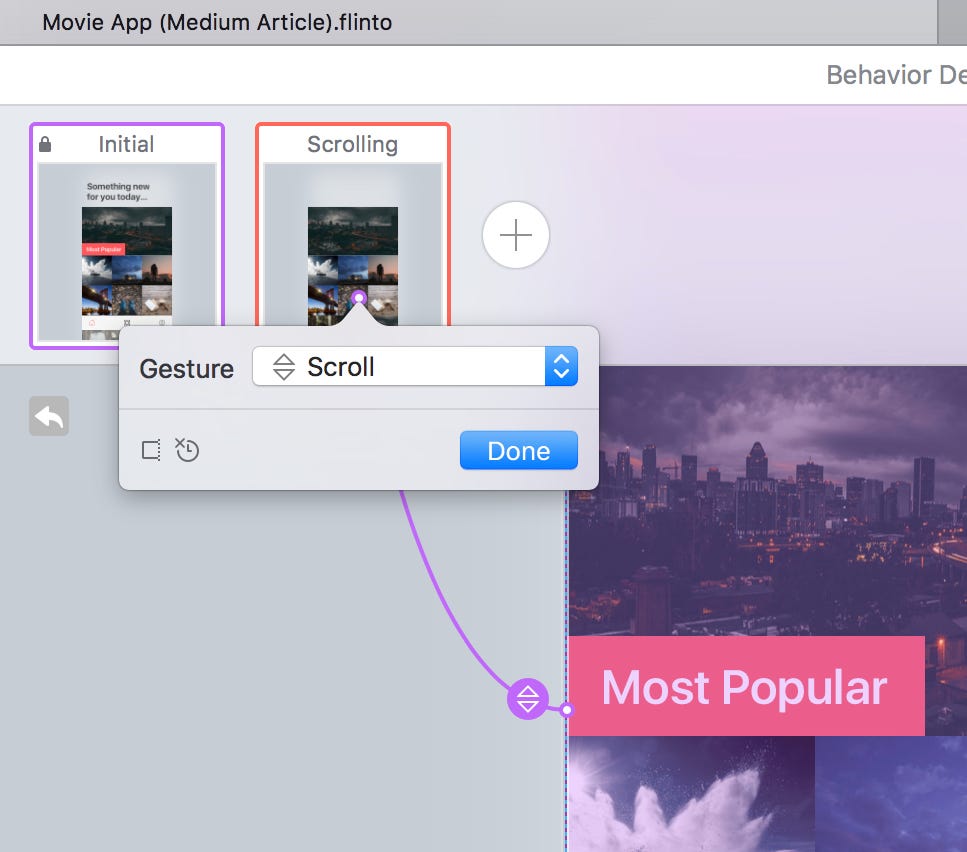
…and from the popup, choose the Scroll Gesture, and click Washed.
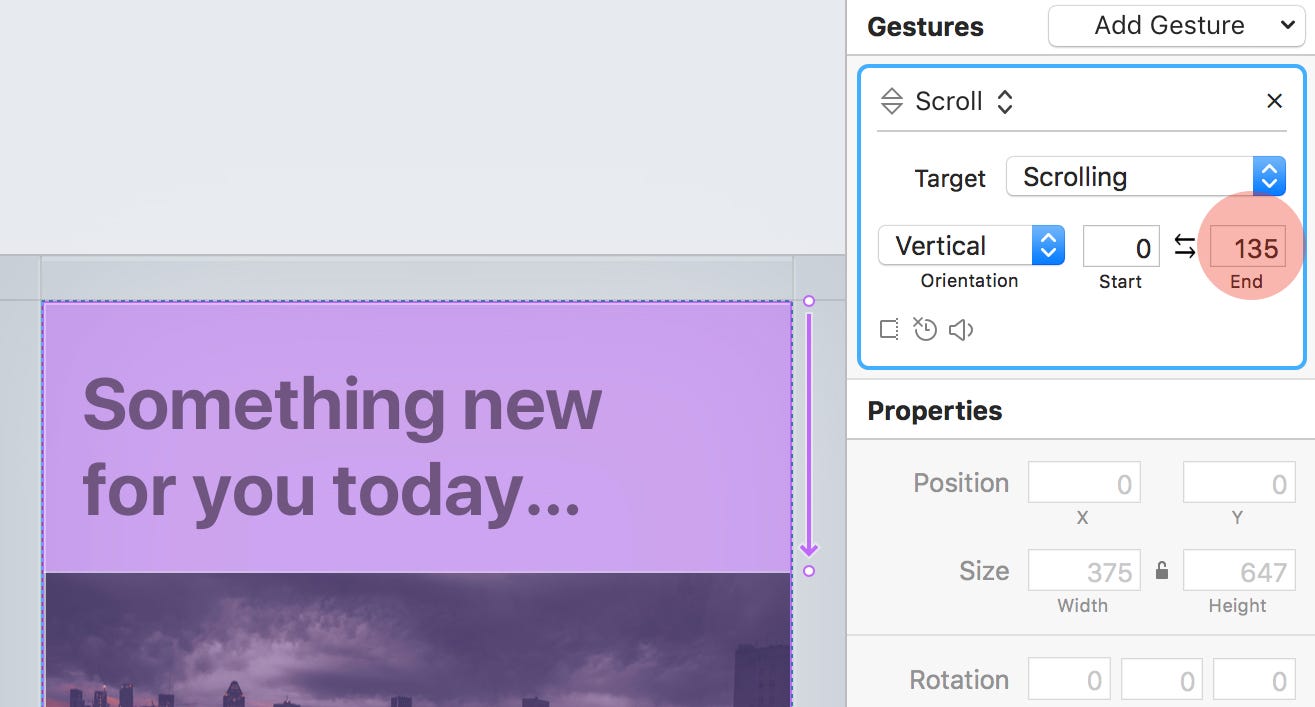
Allow's also ascertain a range of how far the user needs to curlicue before the new Land is activated.
With the scroll group still selected, y'all will see the purple arrow, which highlights the current range.
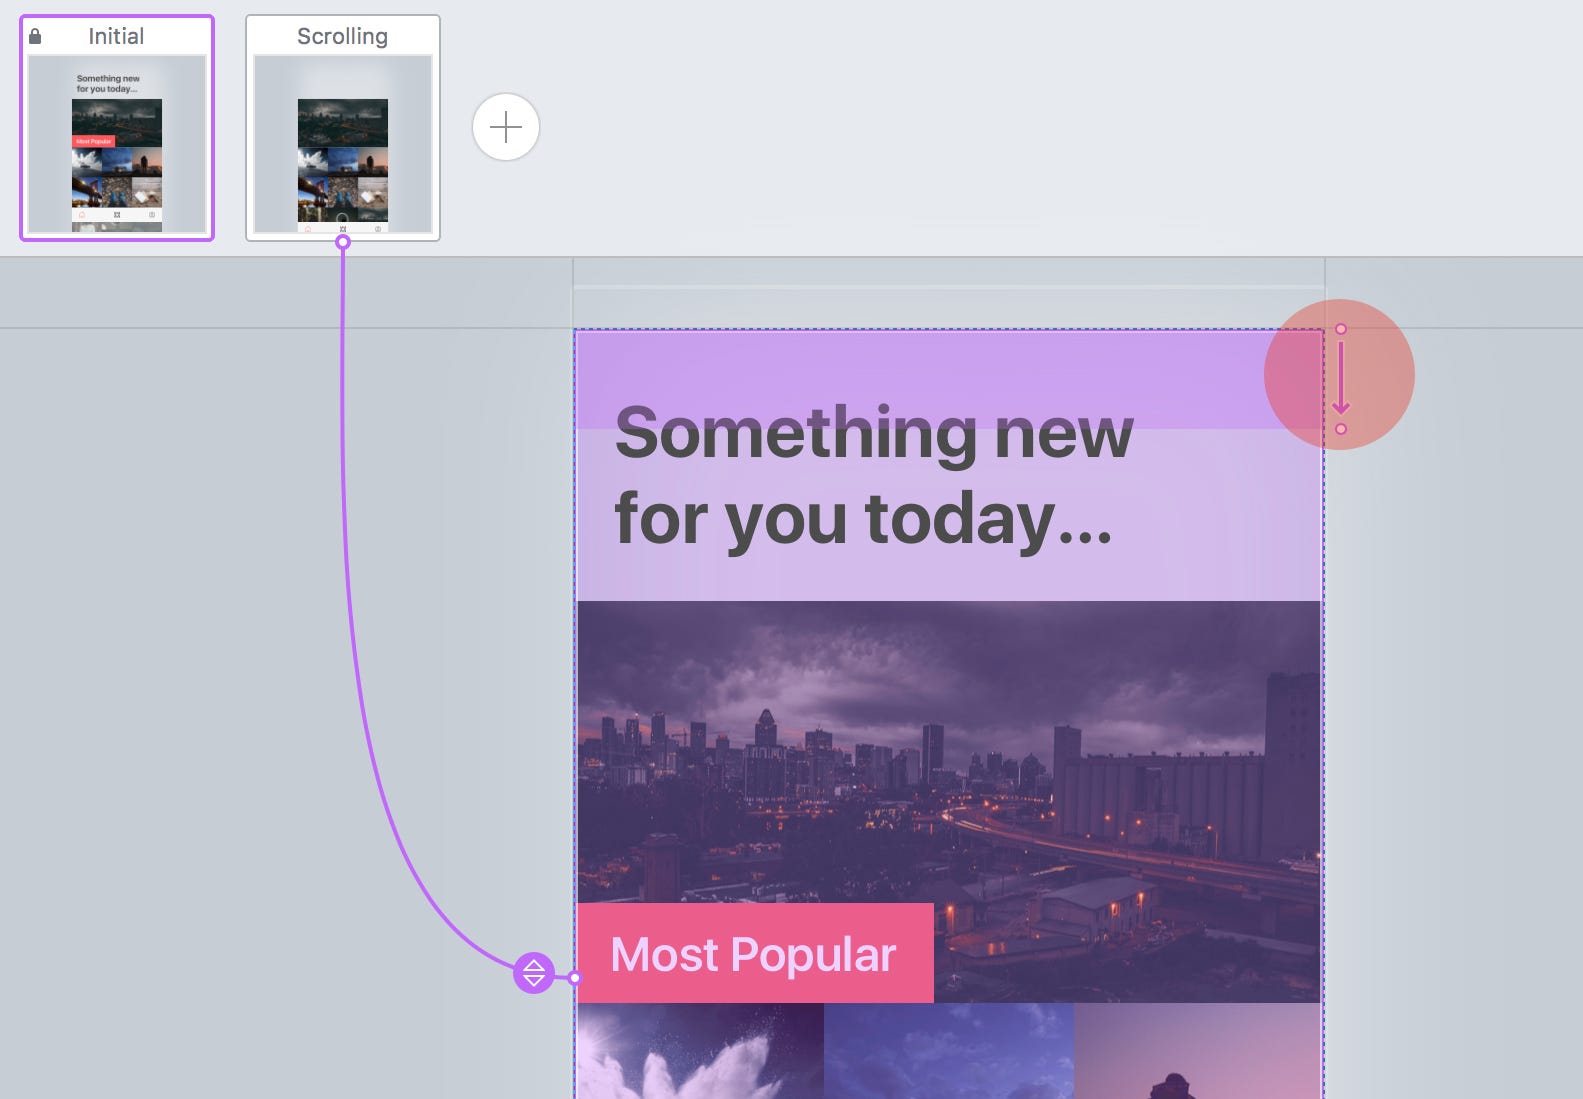
Drag that downwardly (or change the Finish setting in the Gestures console) to around 135.
Burn up the Preview window (Cmd + P) to meet those Behaviours in action. Looking skillful right?
Choose a suitable name for this Behaviour, and click Save & Exit.
In the 2nd part (which you tin can find hither ) we'll swoop fifty-fifty deeper into Behaviours inside of Flinto, and stop upward the final 2 screens of our app.
Thanks for reading the article,
Marc
Oh. Earlier y'all become, don't miss out on this amazing offering for Sketch users…
Want to rapidly meliorate your design workflow?
Meet Cabana. A Design System for Sketch that helps yous work amend, smarter, and faster than ever before…
Use the offering code MEDIUM20 to receive 20% OFF Cabana here.
Source: https://blog.prototypr.io/working-with-behaviours-in-flinto-part-1-a4d935db002c
0 Response to "Behaviors Erased When Uploaded From Sketch Flinto"
Post a Comment